
Creating a birdhouse is one of the most rewarding DIY projects you can undertake. Not only does it bring nature closer to your home, but it also provides birds with a safe shelter to nest and thrive. Whether you’re a beginner or an experienced crafter, these wooden birdhouse ideas, plans, and designs will inspire you to create cozy havens for your feathered friends. Let’s explore some creative and easy-to-follow projects!
1. Classic Wooden Birdhouse
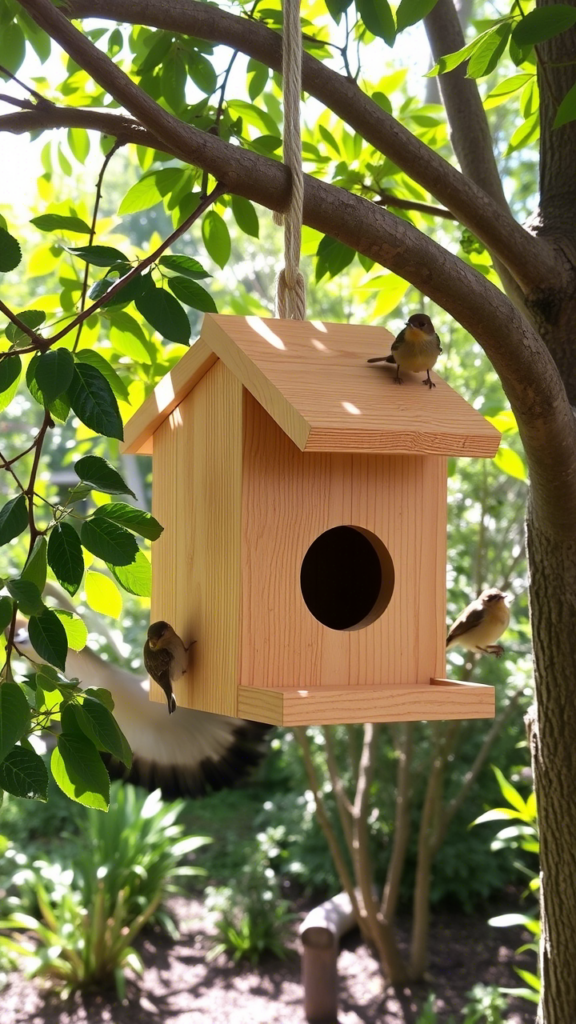
A timeless wooden birdhouse is perfect for beginners and requires minimal materials. It’s sturdy, durable, and blends beautifully with any backyard.
Materials Needed:
- Wooden board (pine or cedar recommended)
- Nails or screws
- Wood glue
- Drill and saw
- Hinges (optional for cleaning access)
Step-by-Step Instructions:
- Cut the Wood: Measure and cut the wood into pieces for the back, front, sides, base, and roof.
- Drill the Entrance Hole: Create a circular hole (about 1.5 inches in diameter) in the front piece. This will serve as the bird’s entryway.
- Assemble the Pieces: Use nails and wood glue to attach the sides and base securely.
- Attach the Roof: Ensure the roof is firmly attached and slightly slanted for rainwater drainage.
- Optional Finishing Touches: Paint or stain the birdhouse to protect it from weather elements. Neutral colors like browns or greens are ideal for blending with nature.
- Mount or Hang: Secure the birdhouse on a tree branch or post, ensuring it’s stable.
Pro Tip: Add hinges to the roof for easy cleaning at the end of each season.
Image Suggestion: A classic wooden birdhouse mounted on a tree branch with birds flying nearby.
Alt Text: “Classic wooden birdhouse with a 1.5-inch entrance hole.”
2. Recycled Milk Carton Birdhouse
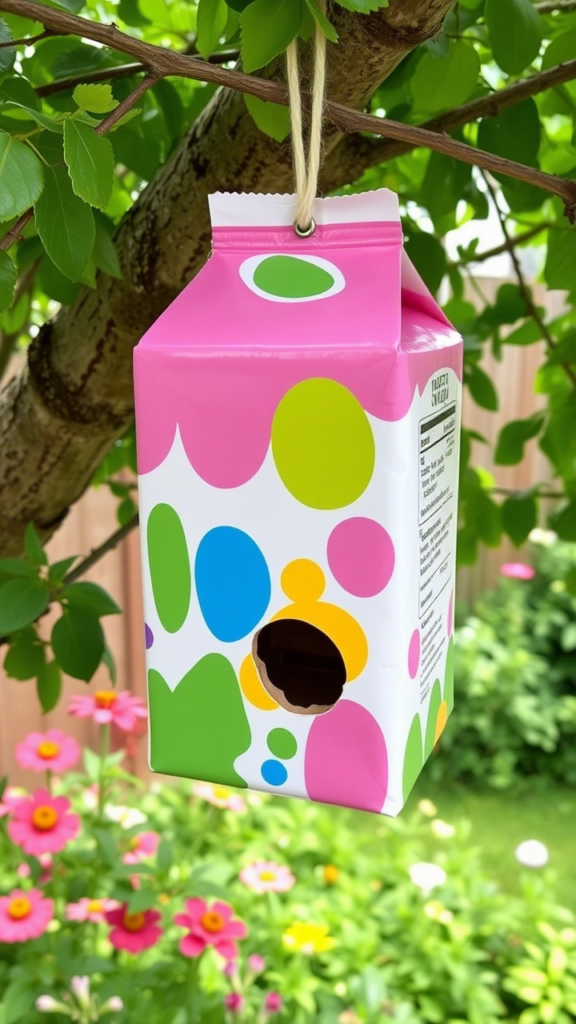
Looking for an eco-friendly and budget-friendly option? Transform an old milk carton into a charming birdhouse!
Materials Needed:
- Empty milk carton (cleaned and dried)
- Craft knife
- Paint and brushes
- Twine or string
- Hot glue
Step-by-Step Instructions:
- Create the Entrance: Use a craft knife to cut a small circular hole in the front of the carton.
- Decorate the Exterior: Get creative! Paint the carton with bright colors, patterns, or even add decorative paper.
- Add Hanging Strings: Poke holes at the top of the carton and thread twine or string through them for hanging.
- Install a Perch: Glue a small stick below the entrance hole to serve as a perch for visiting birds.
- Hang It Up: Find a quiet spot in your garden and hang the birdhouse from a tree branch.
Why You’ll Love It: This project is perfect for teaching kids about recycling and sustainability while creating something functional and beautiful.
Image Suggestion: A colorful milk carton birdhouse hanging from a tree with a bird perched on the stick.
Alt Text: “Recycled milk carton birdhouse painted in bright colors.”
3. Natural Gourd Birdhouse
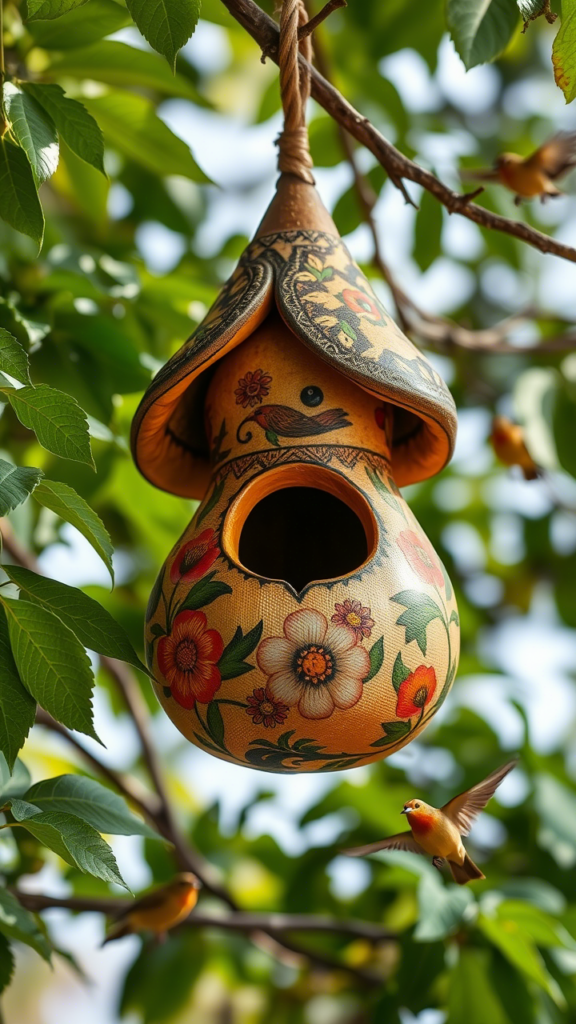
If you’re looking for a rustic and natural option, a dried gourd makes an excellent birdhouse. It’s simple, eco-friendly, and adds a unique charm to your backyard.
Materials Needed:
- Dried gourd (available at craft stores or grow your own!)
- Drill
- Sandpaper
- Paint (optional)
- Clear sealant
Step-by-Step Instructions:
- Prepare the Gourd: Drill a 1.5-inch hole in the front of the gourd for the entrance.
- Clean the Inside: Remove seeds and debris, then smooth the edges with sandpaper.
- Decorate (Optional): Paint or decorate the gourd to match your garden’s aesthetic.
- Seal It: Apply a clear sealant to protect the gourd from weather damage.
- Hang It: Use sturdy string or wire to hang the gourd in a shaded area.
Fun Fact: Birds love gourd birdhouses because they mimic their natural nesting environments.
Image Suggestion: A rustic gourd birdhouse hanging in a garden with vines growing around it.
Alt Text: “Rustic gourd birdhouse hanging in a garden.”
4. Teapot Birdhouse
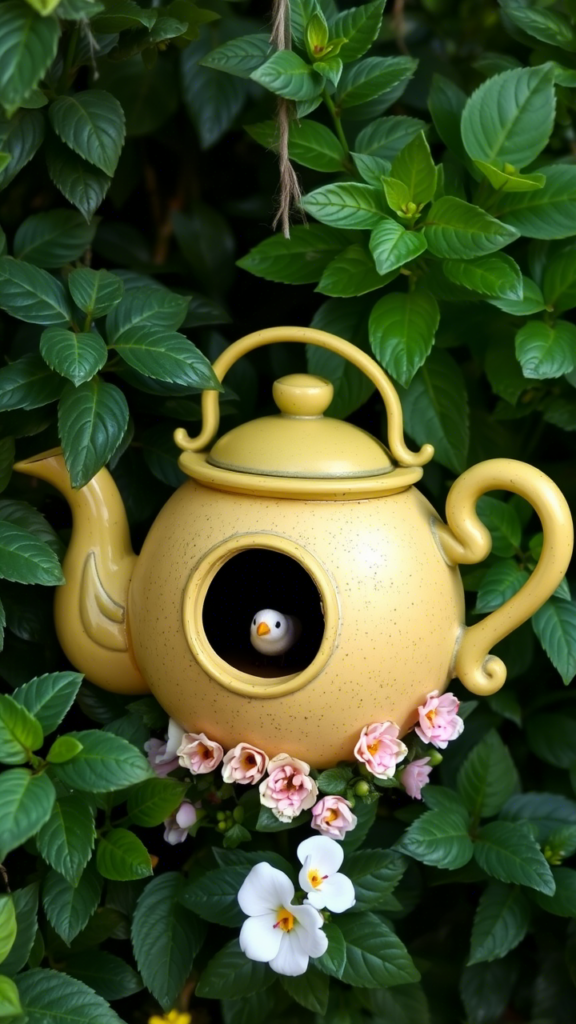
Got an old teapot lying around? Turn it into a quirky and decorative birdhouse that’s sure to stand out in your garden.
Materials Needed:
- Old teapot
- Strong rope or wire
- Drill (if needed)
Step-by-Step Instructions:
- Check the Spout: Ensure the spout is wide enough for birds to enter comfortably.
- Secure the Handle: Attach a strong rope or wire to the teapot handle for hanging.
- Hang It Up: Place it on a sturdy tree branch or hook where birds can easily find it.
Bonus Idea: Pair the teapot birdhouse with matching teacups or saucers for a whimsical garden display.
Image Suggestion: A teapot birdhouse hanging from a tree branch with birds perched nearby.
Alt Text: “Quirky teapot birdhouse with birds perched nearby.”
Final Tips for Hanging Your Birdhouse
To ensure your birdhouse is both functional and safe for its future residents, keep these tips in mind:
- Height Matters: Hang birdhouses at least 5 feet off the ground to protect birds from predators.
- Location: Choose a quiet, shaded spot away from direct sunlight and wind.
- Ventilation and Drainage: Ensure there are small gaps for airflow and drainage holes at the bottom.
- Seasonal Cleaning: Clean the birdhouse at the end of each season to maintain hygiene and prepare it for new tenants.
Why Build a Birdhouse?
Building a birdhouse isn’t just about crafting—it’s about creating a space where nature thrives. Watching birds nest, raise their young, and visit your garden is a heartwarming experience. Plus, it’s a great way to teach kids about wildlife conservation and the importance of giving back to nature.
So, gather your materials, roll up your sleeves, and get started on one of these easy DIY birdhouse projects today. Your backyard will soon become a sanctuary for birds—and a source of joy for you!
Happy crafting! 🐦💚
Leave a Reply